Take a look at Bud's service manual on tiller pilots: http://www.westsailparts.com/ServiceManual/
http://www.westsailparts.com/ServiceManual/index.php?chapter=D#D-13
Moving the tiller pilot forward gets more leverage on the rudder, you will need a 6" extension the simrad pre 150 (available from Defender).
An excerpt from Bud: "...Since the rudder on the Westsail 32 is tilted aft, then use the waterline location where the rudder leaves the water as the starting point for measuring the 18", and not where the tiller is attached to the rudder..."
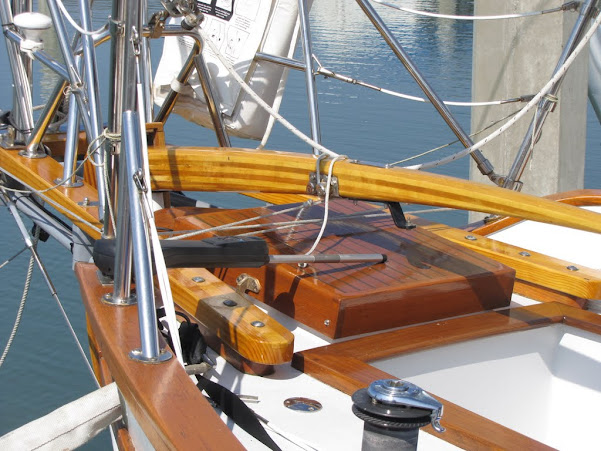
Most of the installs right to the cap rail use a tiller attachment bracket to lower the attachment point on the tiller, as seen here:
I am most likely going to install a install a 1" SS tube on the boom gallows to get the correct height. similar to what is shown in the service manual.
Hope this helps.
Todd